Jenkins on Ubuntu 22.04.1 LTS
Jenkins is a free automation server built with Java, designed to streamline the continuous integration and delivery (CI/CD) workflows in software projects. It provides tools to build, test, and deploy applications efficiently.Below, I will describe the steps to install Jenkins on AWS.
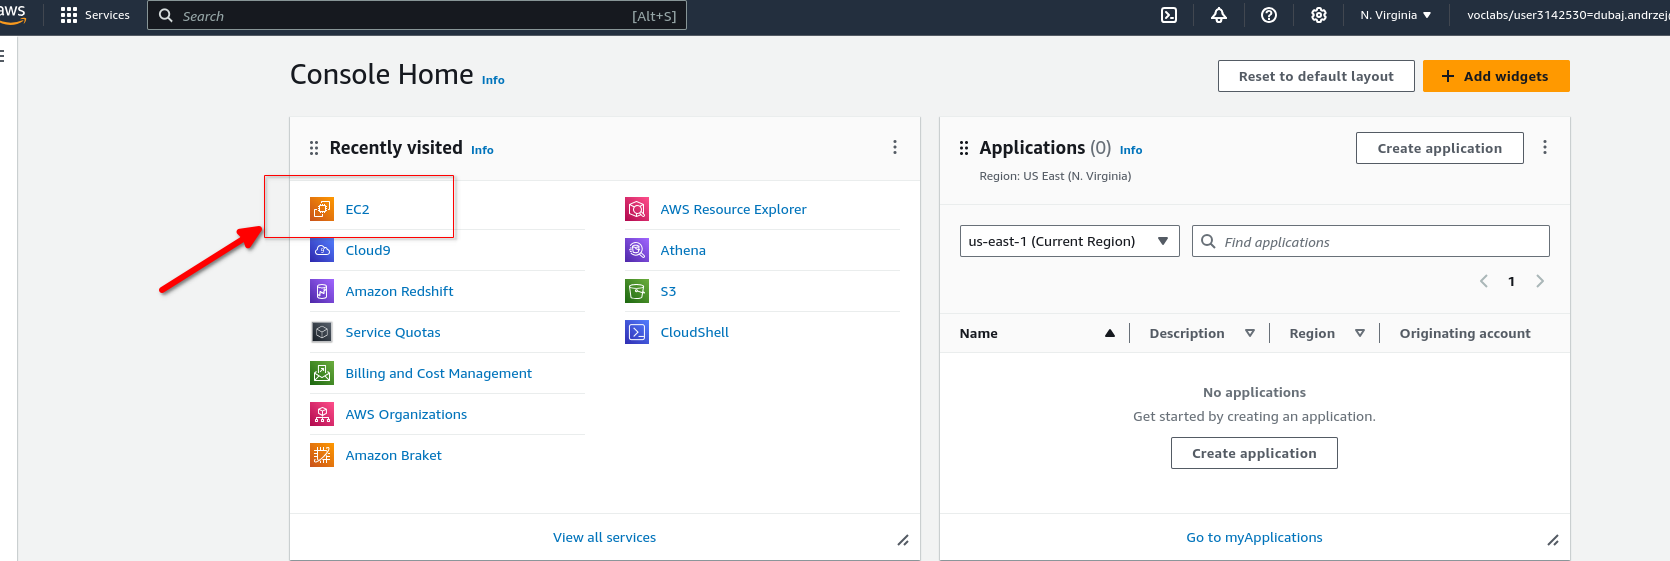
Step 1 — Create an EC2 instance
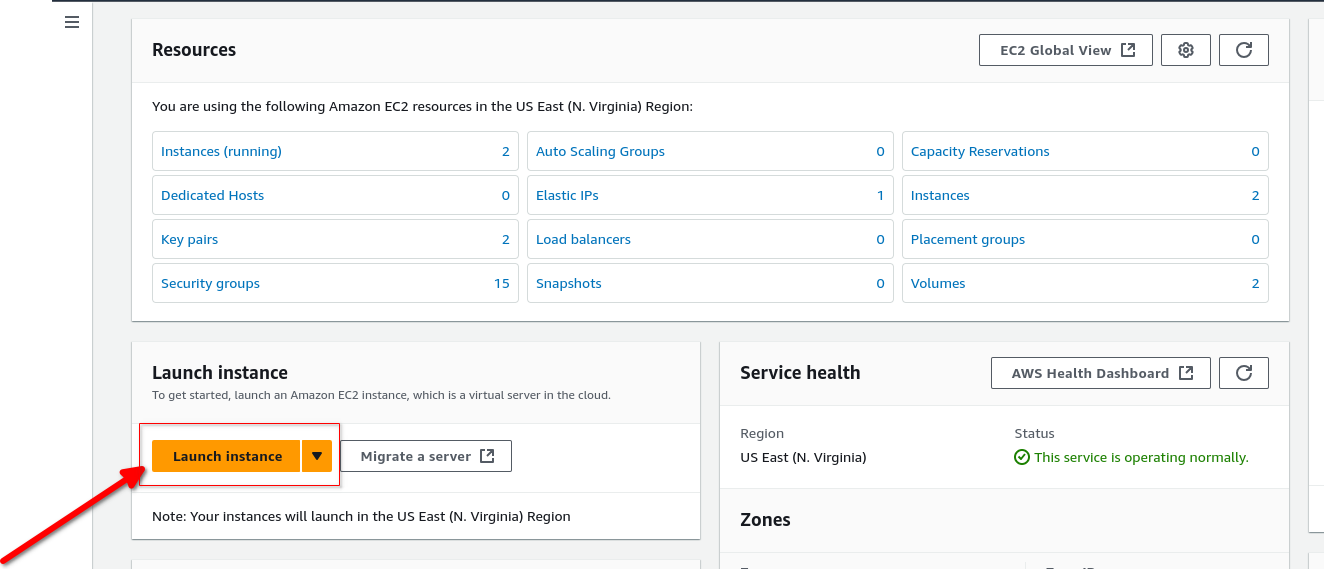
Step 2 - Choose: “Launch Instance” to begin the process of creating an EC2 instance
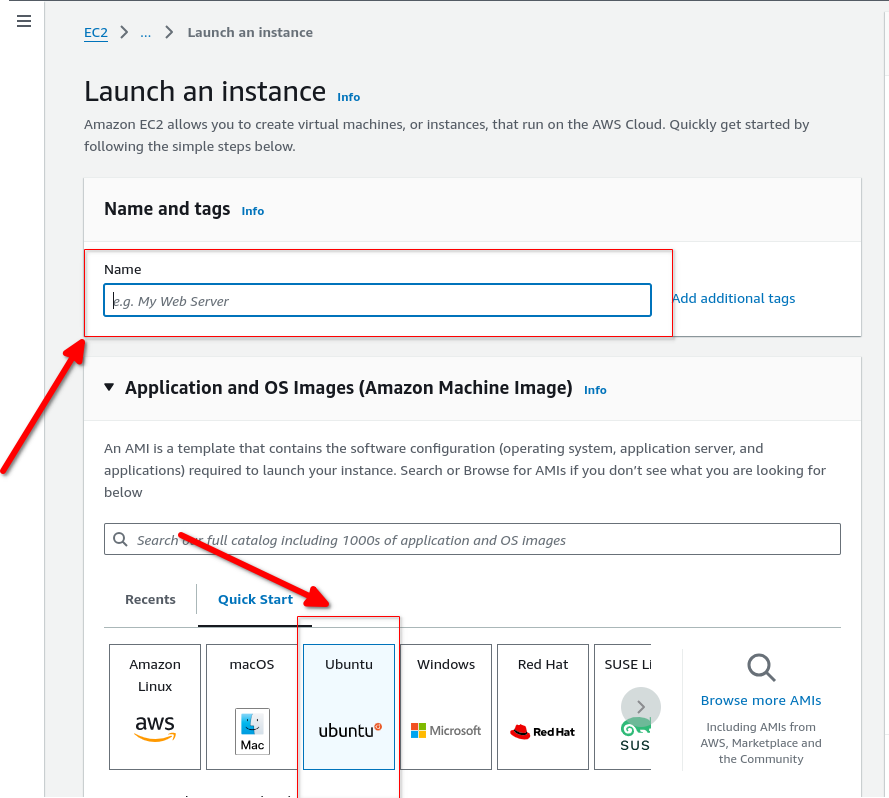
Step 3 - Give the instance a name and select machine (in this example: Ubuntu)
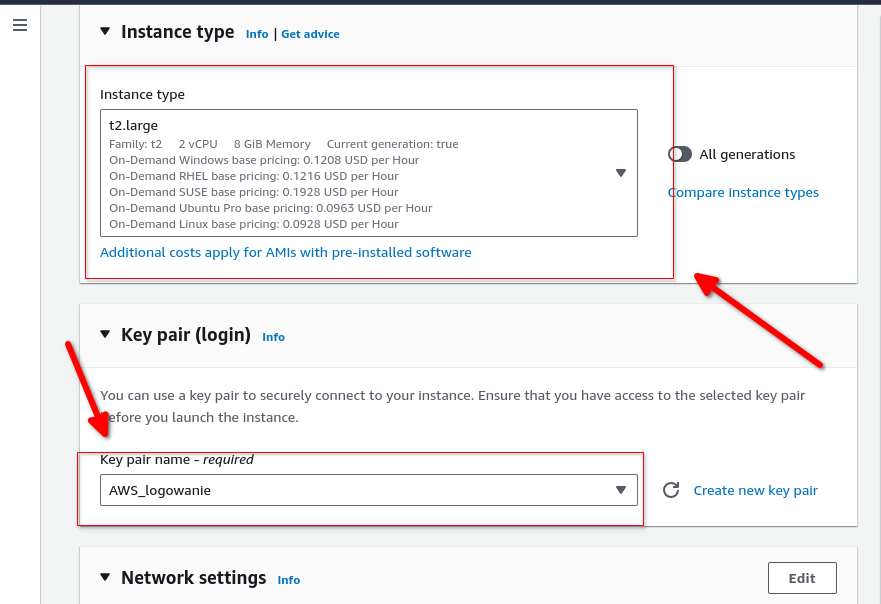
Step 4 - Choose machine image and select exinting or create new key pair
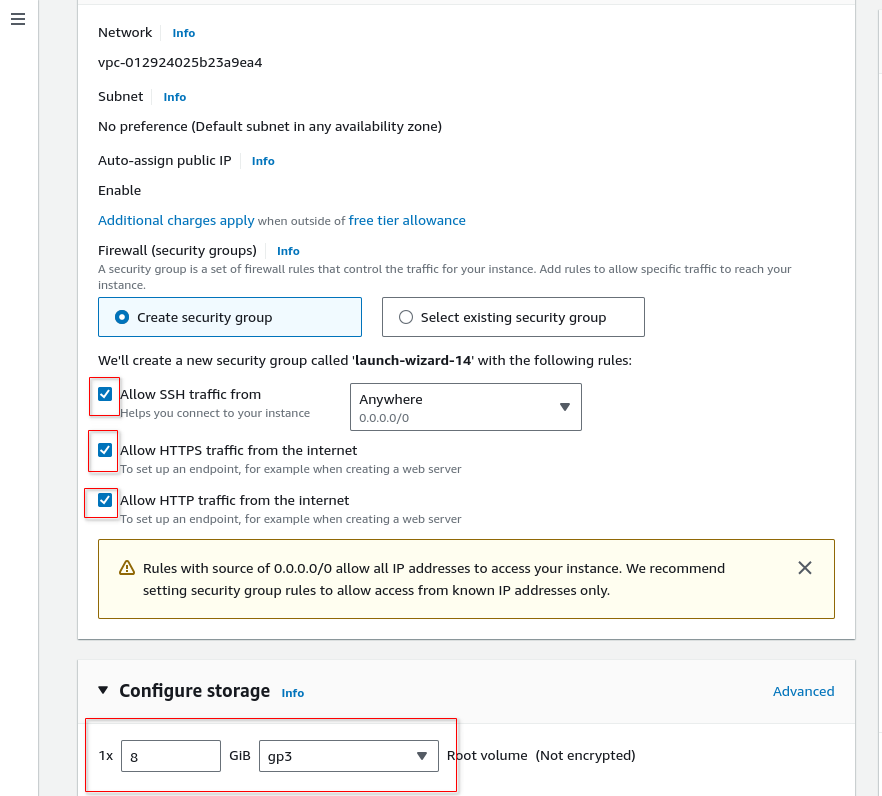
Step 5 - In the network settings, you can select an existing security group or create a new one as shown in the image below:
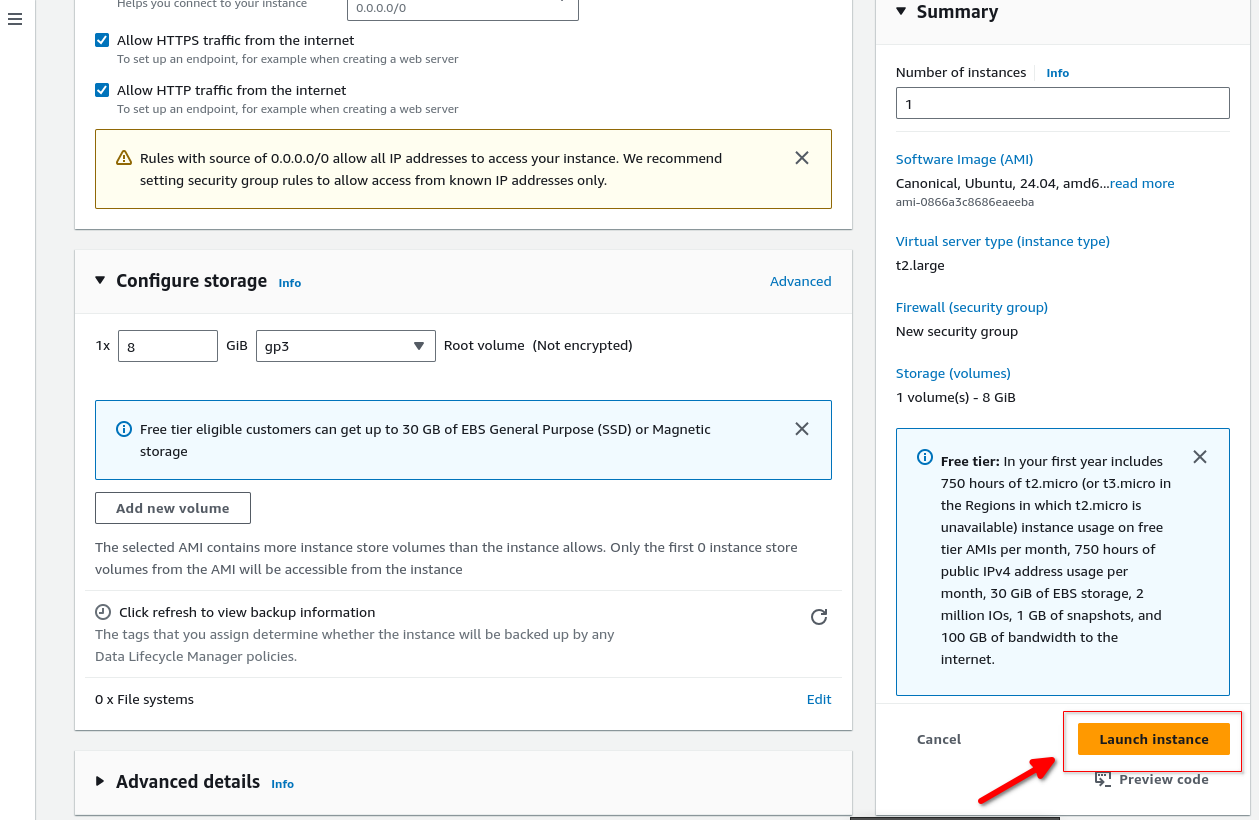
Step 6 - Select: Launch instance
Step 7 - Connect your EC2 instance using ssh
After the instance has been created. It’s time to connect it using ssh. Before connecting to the Ec2 instance using SSH, you must ensure that your downloaded private key is not publicly viewable.
chmod 400 ~/.ssh/<name_of_your_key>.pemStep 8 - Install Java
First update your system instance:
sudo apt-get update && sudo apt-get upgrade -y and install Java:
sudo apt install openjdk-17-jdk -yStep 9 - Install maven
sudo apt install maven -yStep 10 - Jenkins setup
- Add Repository key to the system
curl -fsSL https://pkg.jenkins.io/debian/jenkins.io-2023.key | sudo tee \
/usr/share/keyrings/jenkins-keyring.asc > /dev/null- Append debian package repo address to the system
echo deb [signed-by=/usr/share/keyrings/jenkins-keyring.asc] \
  https://pkg.jenkins.io/debian binary/ | sudo tee \
/etc/apt/sources.list.d/jenkins.list > /dev/null- Update Ubuntu package
sudo apt update- Install Jenkins
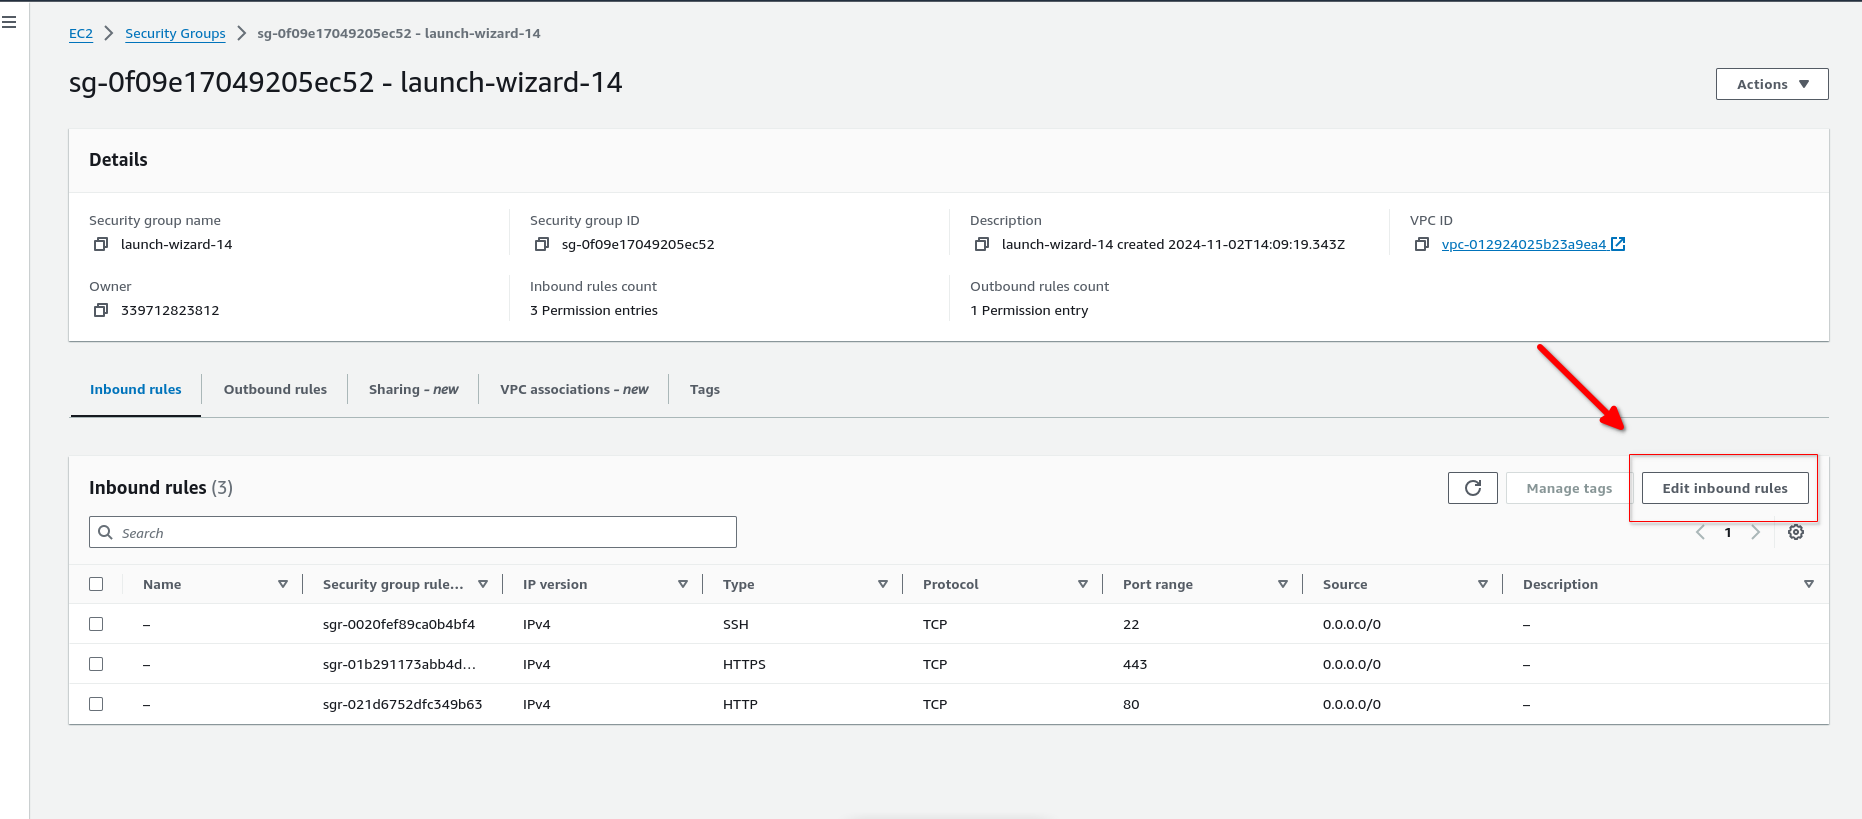
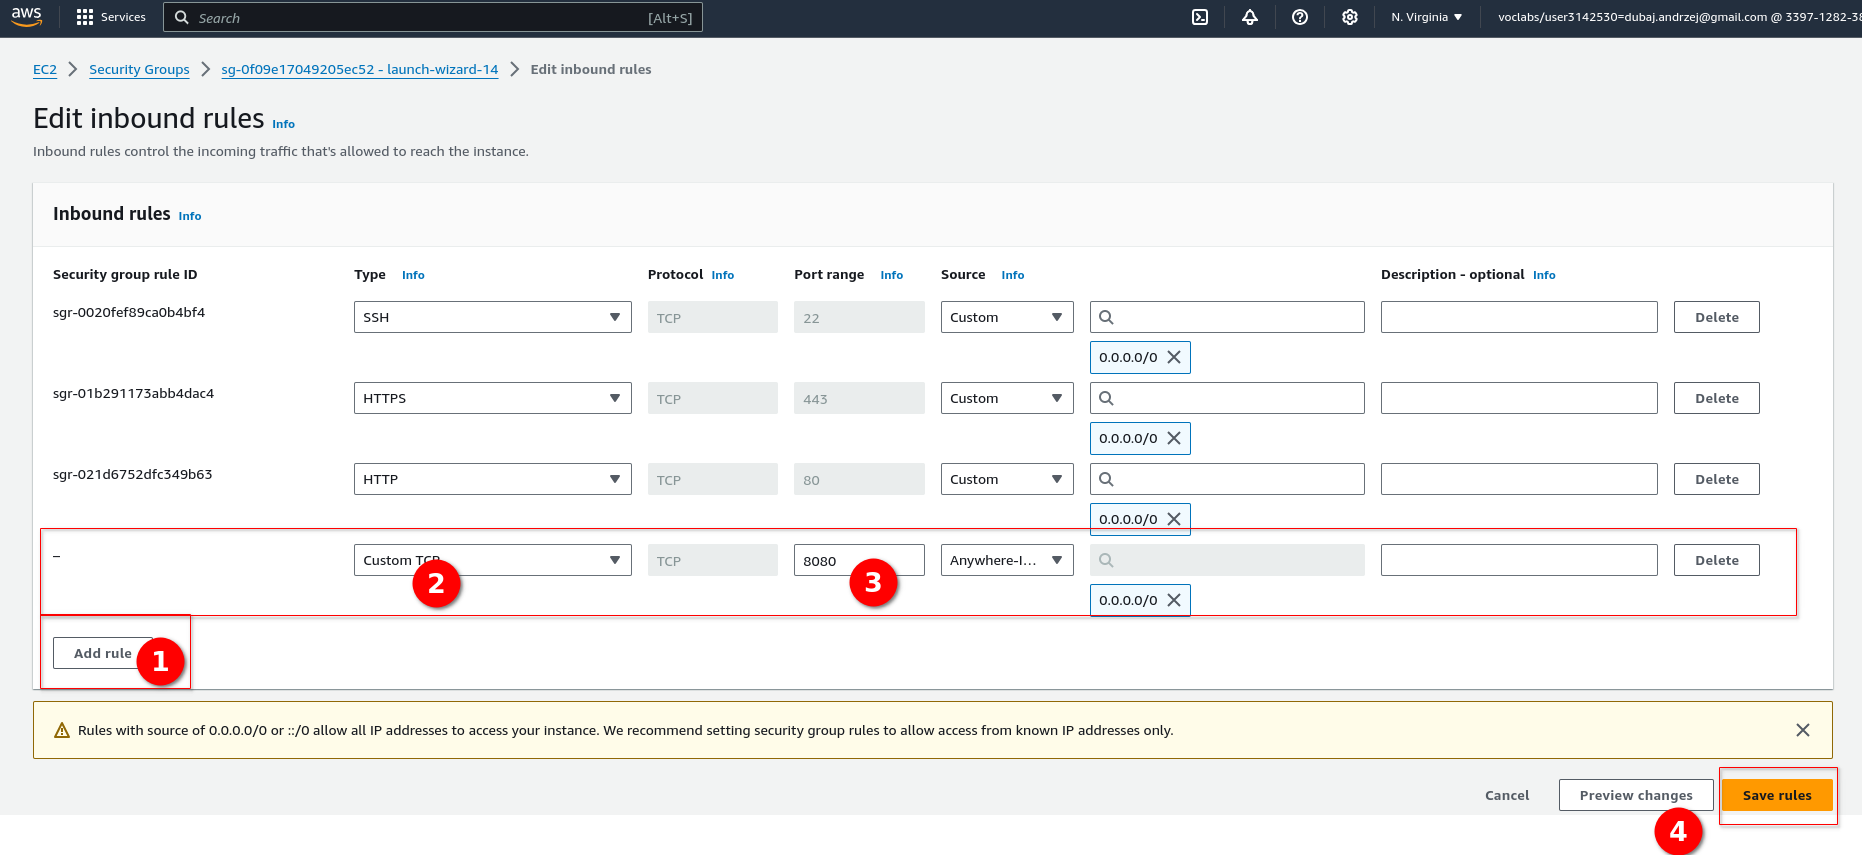
sudo apt install jenkins -yStep 11 - Configure security group
To access Jenkins on the client we need to allow inbound traffic on PORT 8080 in the AWS security group.
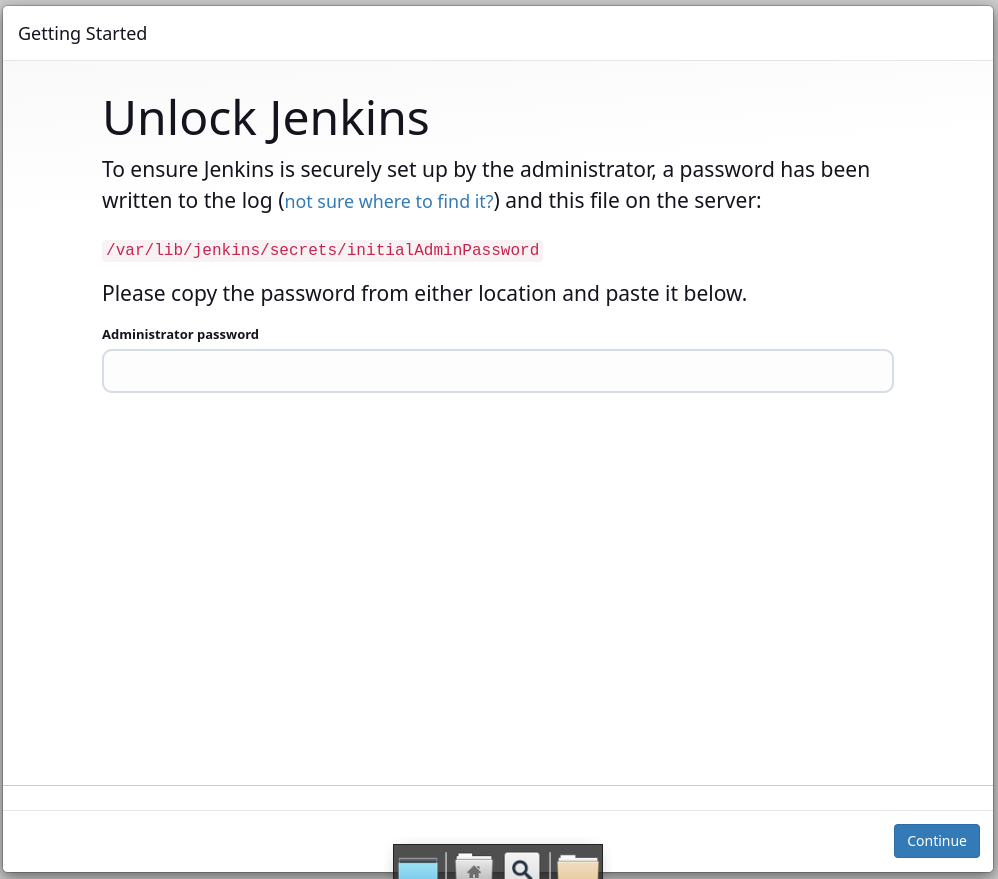
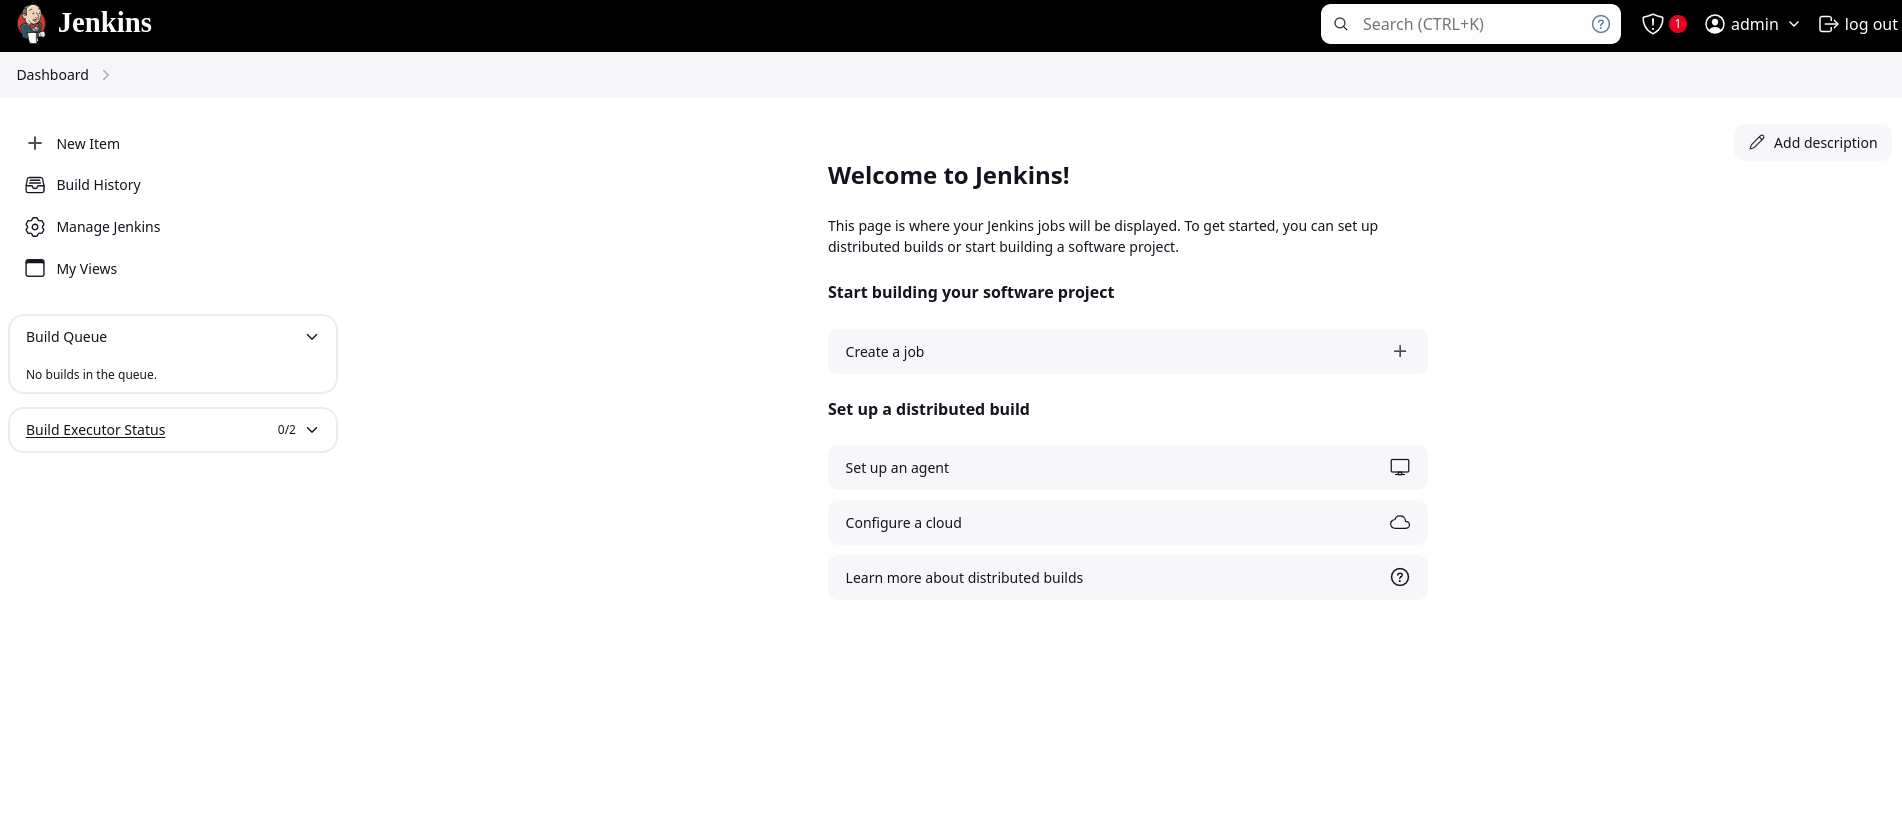
Step 12 - Access the Jenkins web interface
To access Jenkins, go to your web browser and enter your public IPV4 address followed by
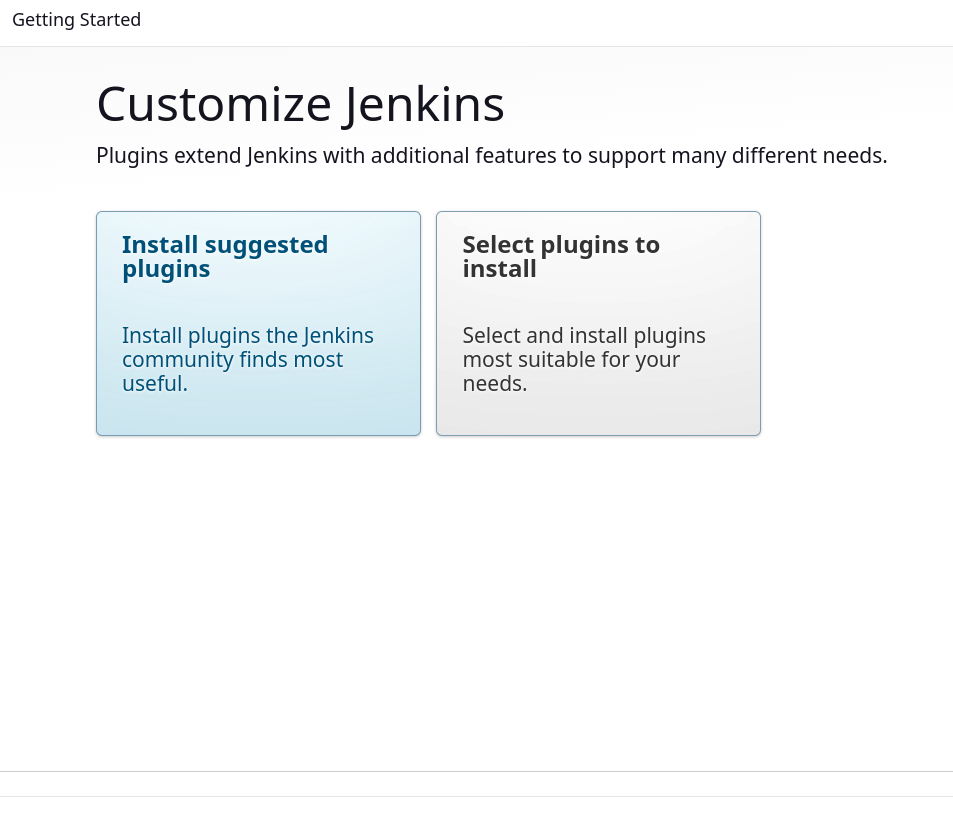
Step 13 - Select install suggested plugins
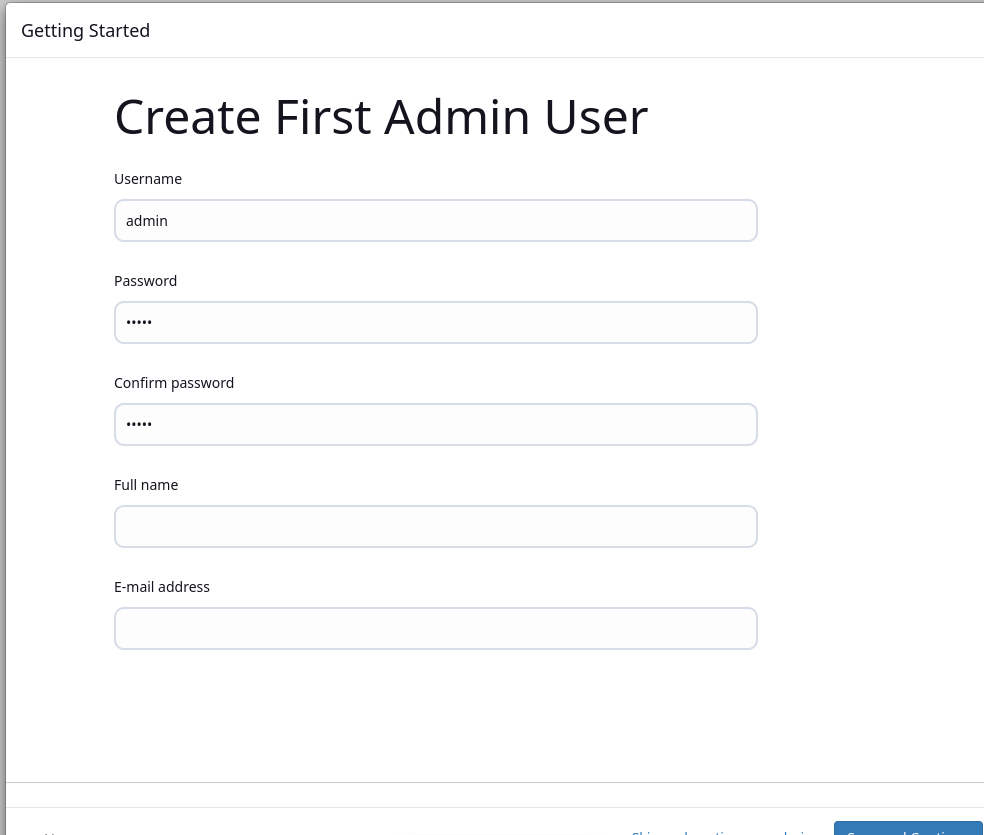
Step 14 - Create an admin user by filling in the required information
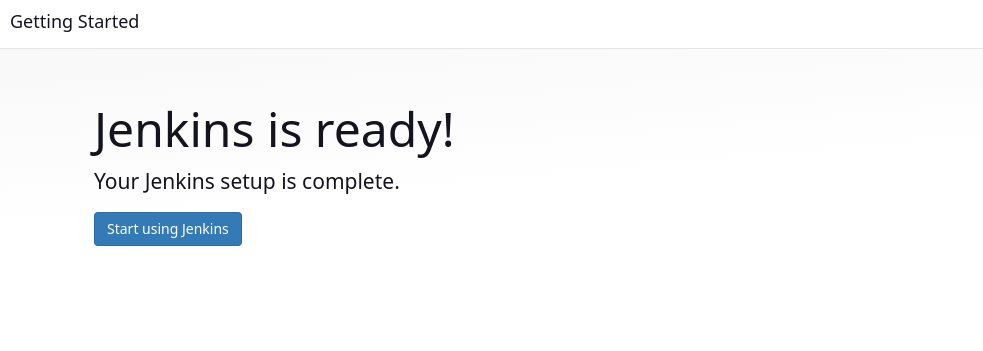
Step 15 - Choose: Save and finish
Conclusion
In this tutorial, you have learned how to run an EC2instance, install Jenkins on the EC2 instance. Jenkins is a powerful tool for automating various parts of the software development lifecycle.
My site is free of ads and trackers. Was this post helpful to you? Why not
Reference:
Disqus is great for comments/feedback but I had no idea it came with these gaudy ads.
