Create Website in Jekyll and Host it on GitHub
As you may know, this site is built with Jekyll. A few years ago, specifically before 2016, I used to run a blog based on WordPress. Although my posts weren’t particularly advanced, WordPress never quite resonated with me. It may be fine for managing users and handling content in a more advanced way, but certain database queries were often very time-consuming, and I also had a weak hosting plan. In the beginning, I frequently had issues with customer service support and experienced server timeouts. After that experience, I gave up on blogging for a while. I decided not to transfer any old posts to a new platform if I ever decided to write again.
After some time, though I’m not sure exactly when, I noticed the Jekyll logo at the bottom of a blog I was reading. The logo caught my attention, and I began researching what it was. Back then, I didn’t know it was one of the static site generators, written in Ruby, that allowed you to write a site in Markdown or HTML. With just a few modifications, you could create some pretty interesting solutions.
So, I decided to give it a try. At the beginning, while setting things up, I wasn’t quite sure what I was doing, but the documentation and tutorials came in handy, helping me discover new functionalities.
Since 2016, I’ve been trying to publish my thoughts and solutions that might be useful to someone (mostly future me!). For hosting, I chose GitHub, which I was already using to store my other repositories. I highly recommend it if you’re interested in exploring similar options, starting an open-source project, or creating your own professional website in the future.
Table of contents:
- Pros of Github and Jekyll
- Cons of Github and Jekyll
- Using Jekyll
- Customize your Jekyll Site
- Get started in GitHub
- Conclusion
Pros of Github and Jekyll
-
Github it’s free
-
it’s portable
-
it’s fast and flexible
-
Github URL’s just look better
Cons of Github and Jekyll
-
using markdown can be not easy for the people used to use wordpress
-
No server-side scripting (e.g. contact forms) you need a api for this
-
Spinning up a local installation may intimidate non-programmers
-
Like wordpress u can’t update your site or blog on live. You need to be done in local and then make it live for updates
Using Jekyll
For daily usange and development I’m using Linux. I know that for some Windows users process that is outline next can by hard to follow step by step. Beascaclyu I can assume that you are yousing Linux or Mac operating system for daily bases.
-
Install Jekyll through Ruby - in this way is to install Jekyll via Ruby games. Ruby is easy to install on Linux distributions: Debian, Ubuntu, Rocky, AlmaLinux.
-
Install XCode, for Mac users. This one can be installed via App Store.
gem install jekyll- Create a directory for your website.
jekyll new blog
Running bundle install in /home/coffeina/Programming/blog...
  Bundler: Fetching gem metadata from https://rubygems.org/............
  Bundler: Resolving dependencies...
  Bundler: Bundle complete! 7 Gemfile dependencies, 35 gems now installed.
  Bundler: Use `bundle info [gemname]` to see where a bundled gem is installed.
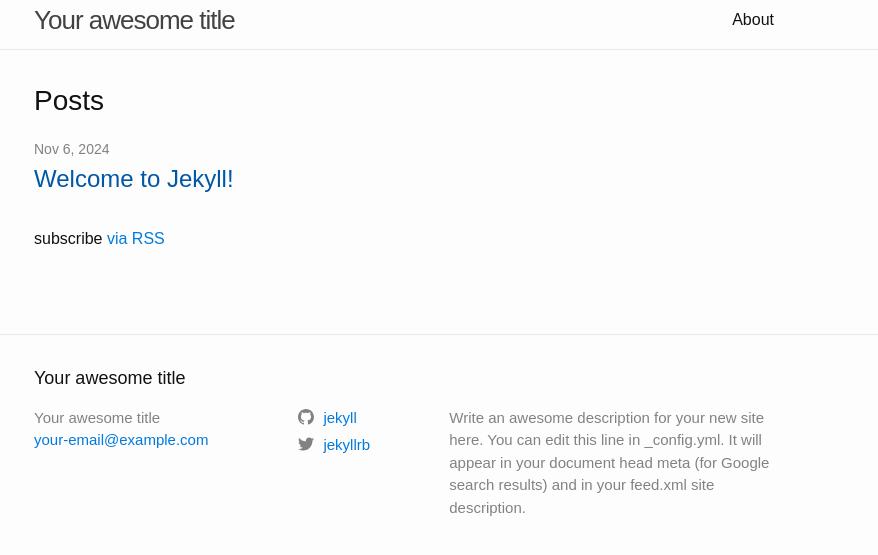
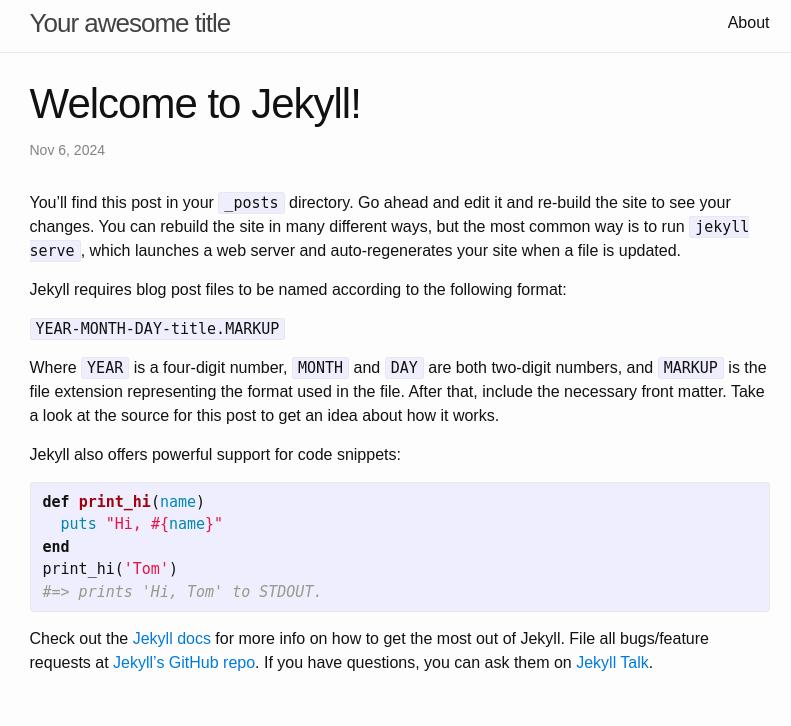
New jekyll site installed in /home/coffeina/Programming/blog. - Look at your basic outline of a site. The template you get should look like this. If you want to see it for yourself, enter jekyll serve -w into your terminal and open a browser window to http://localhost:4000. Press Ctrl-C in the terminal window when you are done.
Although a local Jekyll installation isn’t absolutely required to create a Jekyll-powered site hosted on GitHub, I recommend setting it up. Having Jekyll locally enables you to run a development server (jekyll serve -w), which lets you preview the site at http://localhost:4000 as you build it. This setup is invaluable for debugging, as the terminal provides real-time feedback on errors in your code and points out where issues occur. Make use of this feature, especially if you’re new to Ruby.
Customize your Jekyll Site
In your main website directory, you’ll find a file named _config.yml. Open this file in any text editor and take a look at the options available. There are many customization possibilities here, though I kept mine relatively straightforward. You can update your site’s name, description, email, and other default fields as needed.
Although this step is optional, you might want to adjust the permalink structure for blog posts (if you plan to include them). By default, Jekyll adds the post category to the permalink.
Below is some basic menu stracture:
- title: "Blog"
  href: "/blog/"

- title: "Service"
  href: "/service/"

- title: "Malicious"
  href: "/malicioussoftware/"

- title: "About"
  href: "/about/"
After planning the structure of my navigation menu, I created a folder named _data in my main site directory. Inside this folder, I added a new YAML file named menu.yml.
Be careful with YAML. YAML is finicky about spaces. Use this website to check if your YAML code is valid.
Next, venture to your _includes directory and create a blank document and save it as nav.html. Enter the following code into it and save.
<ul class="menu">


     <li><a href="/blog/" class="page-link">Blog</a>

    </li>


     <li><a href="/service/" class="page-link">Service</a>

    </li>


     <li><a href="/malicioussoftware/" class="page-link">Malicious</a>

    </li>


     <li><a href="/about/" class="page-link">About</a>

    </li>

    </ul>
Create Some Pages I assume some familiarity with Markdown in this section. If you don’t know about Markdown, look up any number of cheatsheets. Markdown is awesome.
Let’s start with a basic About page. Create a new document in your site directory and save it as about.md. Enter something like this and save.
---
layout: page
title: About
permalink: /about/
---

Lorem ipsum dolor sit amet, consectetur adipiscing elit. Sed in condimentum urna. Integer imperdiet enim et diam pulvinar, eget commodo tortor aliquam. Quisque dignissim, lorem ac viverra accumsan, odio nibh posuere velit, eu euismod nulla diam at lacus. Suspendisse id facilisis felis, sed pharetra ante. Phasellus at diam massa. Vestibulum placerat erat nunc, nec blandit dui mollis a. Mauris malesuada nibh in ligula aliquet porta. Sed vitae tortor sed urna sollicitudin porttitor. Nam fermentum fermentum enim, eu faucibus eros ultricies id. Nulla facilisi. Sed orci urna, porttitor ac arcu et, fringilla auctor lacus. Sed non ante in tortor cursus pulvinar. Integer euismod tempus nisl, vel luctus enim facilisis vitae.
Get started in GitHub
When you create your own GitHub account, select Repositories and then New. In the Repository name field, enter username.github.io, where username is your GitHub account name, and then save the changes.
After creating the repository, on your local drive, in the folder where your Jekyll project is located, create a .gitignore file and add:
_site/
.sass-cache/
.jekyll-cache/
.jekyll-metadata
.bundle/
vendor/
Of course, you can add a few other files as well, depending on the editor, IDE, or operating system you’re using. However, that’s entirely up to you.
git init
git add .
git commit -m "first commit"
git remote add origin https://github.com/username/username.github.io.git
git push -u origin master
After that you should be prompted in the terminal window to give your username and password. Once that’s done uploading, open a tab in your browser to username.github.io. You should be done. Subsequent updates can be done as follows.
git add .
git commit -m "message accompanying my updates"
git push -u origin master
Conclusion:
In an easy and quick way, you can create your own blog or another website. There’s no need to purchase expensive hosting or struggle with CMS updates. You just need to put in a bit of effort and read the documentation to build your blog or another system for delivering your content on the Internet. If you dont want to use GitHub you can use some other like: Netlify or Vercel which are free website deployment and continuous integration with GitHub, which makes managing changes much easier.
My site is free of ads and trackers. Was this post helpful to you? Why not


